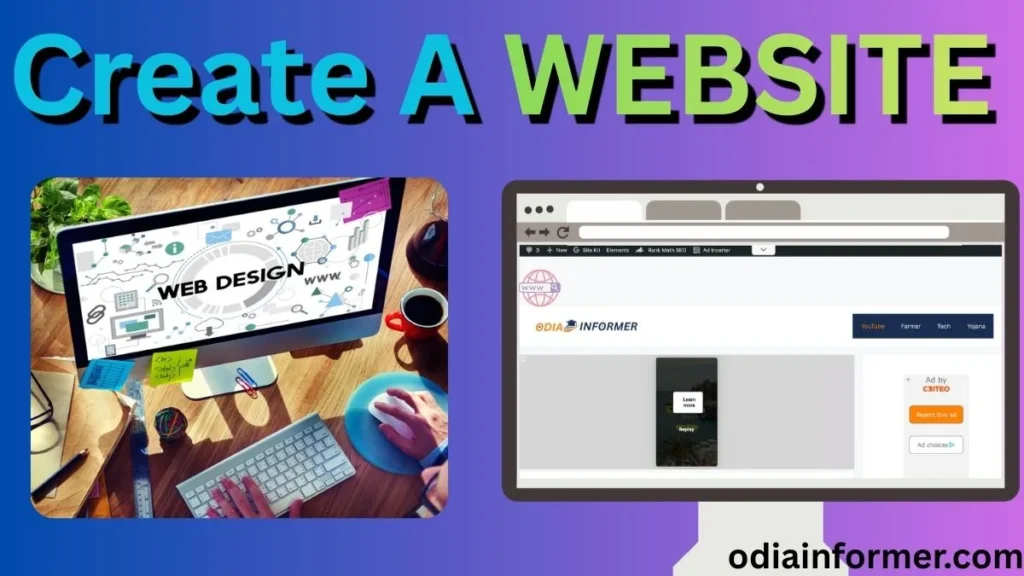
In today’s blog post, I will teach you how to publish your WordPress website in the easiest and most professional way. If you’re planning to start a website—whether it’s for blogging, business, portfolio, or earning online—this step-by-step guide will help you.
Read the full article carefully. If you have any doubts, feel free to ask in the comment section below.
This guide is perfect for:
- Beginners who want to create a website
- Students looking to start blogging
- Anyone who wants to build a professional website like OdiaInformer.com
- People planning to earn money online from blogging
Let’s get started!
📝 Step 1: Finalize Your Website Topic or Niche
Before creating a website, you must choose a niche/topic. Some popular niches are:
- Technology
- News
- Cooking
- Education
- Finance
- Gaming
- Travel
- Motivation
Choosing a niche helps your audience understand what your website is about and improves your Google ranking.
🌐 Step 2: Buy a Domain Name (Your Website Name)
A domain name is your website’s identity (example: yourwebsite.com).
To buy a domain:
- Go to GoDaddy.com
- Search your desired domain name
- Choose a name that is short, simple, and easy to remember
- Buy the domain for 1–2 years
Example:
If your website is about technology, you can choose:
- techupdates.com
- digitalodisha.in
A premium domain helps build a strong online presence.
🖥️ Step 3: Buy Hosting (Important Step)
Your website runs on hosting (a server).
Without hosting, your website cannot work.
I strongly recommend Hostinger.com because:
- You get Fast Hosting
- Free SSL Certificate
- Free Domain Name (in most plans)
- Easy WordPress installation
- 99.9% uptime
- Affordable prices
Once you purchase hosting, you need to connect your domain with the hosting server.
🔗 Step 4: How to WordPress Website Connect Domain to Hosting
You must update the Nameservers of your domain.
If you purchased the domain from GoDaddy and hosting from Hostinger:
- Go to GoDaddy DNS settings
- Replace nameservers with Hostinger nameservers
- Save and wait for 5–10 minutes for propagation
Once connected, your domain will point to your hosting server.
⚙️ Step 5: Install WordPress in Hosting cPanel
After connecting the domain, follow these steps:
- Open your Hostinger hPanel/cPanel
- Search for Auto Installer
- Select WordPress
- Set your username and password (use a strong password)
- Click Install
Within a few seconds, WordPress will be installed on your website.
You can log in to WordPress by visiting:
yourwebsite.com/wp-admin
🎨 Step 6: Install a Fast & SEO-Friendly Theme
Your website’s design depends on the theme.
I recommend GeneratePress theme because:
- It is lightweight
- Mobile-friendly
- Very fast (helps in ranking)
- SEO optimized
- Easy to customize
To install:
- Go to WordPress Dashboard
- Appearance → Themes → Add New
- Search GeneratePress
- Install & Activate

🧩 Step 7: Install Important Plugins
Plugins help improve your website’s performance and add features.
Essential plugins to install:
| Plugin Name | Use |
|---|---|
| RankMath SEO | SEO optimization |
| Site Kit by Google | Analytics, AdSense, Search Console |
| WP Super Cache | Speed improvement |
| Classic Editor / Block Editor | Writing posts |
| Social Sharing Plugin | Social share buttons |
| Contact Form 7 | Adding contact page |
🛠️ Step 8: Customize Website Settings
After installing a theme, make these changes:
✔ Navigation Menu
Add pages such as:
- Home
- About
- Contact
- Blog
✔ Add Sidebar Widgets
Useful widgets:
- Recent Posts
- Categories
- Search Box
- Social Media Links
✔ Customize Footer
Add:
- Privacy Policy
- Disclaimer
- Copyright text
These small settings give your website a professional look.
✍️ Step 9: Start Publishing Articles
Now your website is ready.
Go to:
WordPress Dashboard → Posts → Add NewWrite SEO-optimized articles and publish them.
Tips for writing high-ranking content:
- Use high-search keywords
- Write 1000–1500 word articles
- Add images
- Use heading structure (H1, H2, H3)
- Avoid plagiarism
Your content decides your website’s success.
💰 Step 10: Monetize Your Website & Start Earning Online
Once your website has traffic, you can start earning through:
- Google AdSense
- Affiliate Marketing
- Sponsored Posts
- Direct Ads
- Selling Digital Products
If you work consistently, you can easily earn money online from your website.
🎯 Final Words
I hope you guys understand the complete process of how to publish your website on WordPress. Follow every step carefully, and you will be able to create a professional website even if you are a beginner.
If you have any doubt, please leave a comment below. I will try my best to help you! 😊
🖼️ Image Suggestions (for your blog post)
Use these image ideas:
- “How to publish a WordPress website” infographic
- Screenshot of GoDaddy domain search
- Hostinger hosting dashboard
- WordPress installation process screenshot
- GeneratePress theme preview
- WordPress post editor image
❓ Frequently Asked Questions (FAQs)
1. Can I create a website for free?
Yes, but free websites have limitations. For a professional website, you must buy a domain and hosting.
2. Which hosting is best for beginners?
Hostinger, Bluehost, and SiteGround are excellent options for beginners.
3. Is WordPress easy to use?
Yes, WordPress is beginner-friendly and requires no coding knowledge.
4. How much time does it take to publish a website?
You can publish a full WordPress website in 20–30 minutes.
5. Can I earn money from my new website?
Yes! Once you get traffic, you can earn through AdSense, affiliate marketing, and more.