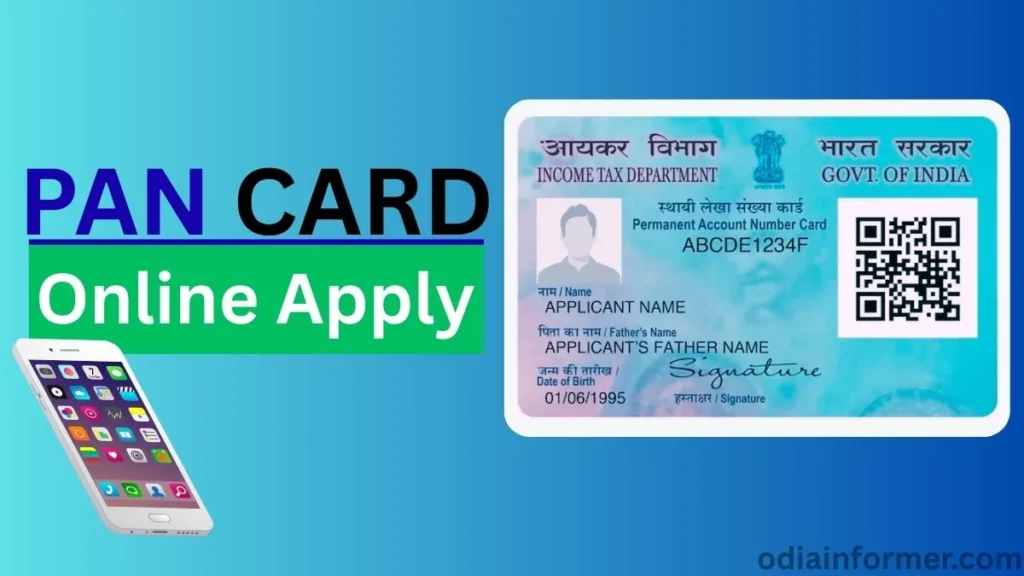
If you want to apply for a new PAN card in 2025, then this detailed guide will help you complete the entire process online. The PAN application system has changed, and now you can easily apply for a PAN card using your Aadhaar card, upload your own photo and signature, and complete e-signing without posting any documents.
Your e-PAN will be delivered to your email, and the physical PAN card will reach your home by post.
🟦 Step 1: Open the Official PAN Card Portal
Open your browser and search for:
“NSDL PAN Card Apply Online” or “Protean PAN Card Services”
You will land on the nsdl official portal.
(You can also use the direct link usually provided in video descriptions.)
🟦 Step 2: Start New PAN Application (Indian Citizen)
Go to the Application section and choose:
➡ New PAN – Indian Citizen (Form 49A)
➡ Select “Individual” as the category.
This section is for people applying for a new PAN card.
🟦 Step 3: Enter Applicant Information
Here you must enter your personal details exactly as they appear on Aadhaar.
Title Selection
Choose the correct title:
- Shri
- Smt
- Kumari
(Your title will not be printed on PAN; it is only for identification.)
Name Entry Format
PAN requires names in three separate boxes:
- First Name
- Middle Name
- Last Name / Surname
Examples:
| Full Name | First Name | Middle Name | Last Name |
|---|---|---|---|
| Rajat Kumar Singh | Rajat | Kumar | Singh |
| Rajat Kumar | Rajat | — | Kumar |
| Rajat | — | — | Rajat |
Next, enter:
✔ Date of Birth
✔ Email ID
✔ Mobile Number
✔ Captcha
Click Submit.
You will now see your Application Reference Number — note it down.
🟦 Step 4: Choose the Correct Application Option
You will get three options for PAN application.
Select the second option, because it allows:
✔ Uploading your own photo
✔ Uploading your signature
✔ No physical documents required
Avoid choosing the first option where photo/signature cannot be uploaded.
🟦 Step 5: Enter Aadhaar Details
You must enter only the last 4 digits of your Aadhaar number.
The portal will auto-fill your name from the registration page.
Select:
✔ Gender
✔ Whether you have any other name (mostly NO)
🟦 Step 6: Enter Parent’s Details
Enter:
✔ Father’s Name
✔ Mother’s Name (optional)
Choose which parent’s name should be printed on PAN:
➡ Select Father’s Name (commonly used)
Click Next.
🟦 Step 7: Select Source of Income
Choose your income category:
- Salary
- Business/Profession
- House Property
- No Income (for students/housewives)
🟦 Step 8: Enter Address for Communication
Select Residence Address and enter:
- House Number
- Village/Town/City
- Post Office
- Tehsil / Sub-division
- District
- State
- Country
- PIN Code
Click Next.
🟦 Step 9: Enter Contact Details
Enter:
✔ Mobile Number
✔ Email ID
“Representative Assessee” option is only for minors (below 18).
Select NO if you are an adult.
🟦 Step 10: Find Area Code / AO Code / Range Code
This confuses many people.
But the government has provided a tool on the portal.
Steps:
- Select Indian Citizen
- Select your State
- Select your District
- Click Fetch
You will now see several AO Codes.
Choose the one closest to your city/town.
Click Next.
🟦 Step 11: Upload Documents (PDF Only)
You need three proofs:
✔ Proof of Identity
✔ Proof of Address
✔ Proof of Date of Birth
If you have Aadhaar, you can use it for all three.
Upload in PDF format, max size 300 KB.
If your document has front and back sides, merge into one PDF before uploading.
🟦 Step 12: Upload Photo and Signature
Photo Requirements
- Size: 50 KB
- Dimensions: 3.5cm × 2.5cm
- Passport-size photo
- Front-facing
- No selfies
Signature Requirements
- Size: 2cm × 4.5cm
- Clear and readable
- On plain white paper
Upload both.
🟦 Step 13: Confirm Details & Proceed to Payment
You will now see a summary.
Verify everything.
PAN application fee for Indian citizens:
💰 ₹107
You can pay using:
- UPI
- Debit/Credit Card
- Net Banking
- Wallets
🟦 Step 14: Aadhaar e-Sign (Mandatory)
Click e-Sign → Generate OTP
Enter the OTP received on your Aadhaar-linked mobile number.
Your PAN application will be digitally signed and submitted.
🟦 Step 15: Download Receipt
Enter your Date of Birth and download the acknowledgement.
Your application is now under processing.
Processing Time
⏳ PAN card is usually generated within:
2–3 working days
(Weekends may extend it to 5 days.)
You will receive:
✔ e-PAN on Email
✔ Physical PAN card via Speed Post
You can track the delivery using the India Post tracking number sent by SMS.
- Top 10 Digital Marketing Interview Questions & Answers (2026) – Complete Guide for Freshers & Professionals
- New Farmer ID Registration Online Apply Odisha
- 4 Best Video Editing Software for Mac
FAQs About New PAN Card Apply Online (2025)
1. Can I apply for a PAN card without Aadhaar?
No, Aadhaar is mandatory for PAN application in 2025.
2. How long does it take to receive a PAN card?
Usually 2–3 working days for e-PAN, and 5–7 days for physical PAN via post.
3. Can I upload my own photo and signature?
Yes, if you select the second option in the beginning.
4. What is the PAN card fee?
₹107 for Indian citizens.
6. What if Aadhaar is not linked to my mobile?
You must link your Aadhaar with mobile first because OTP verification is mandatory.