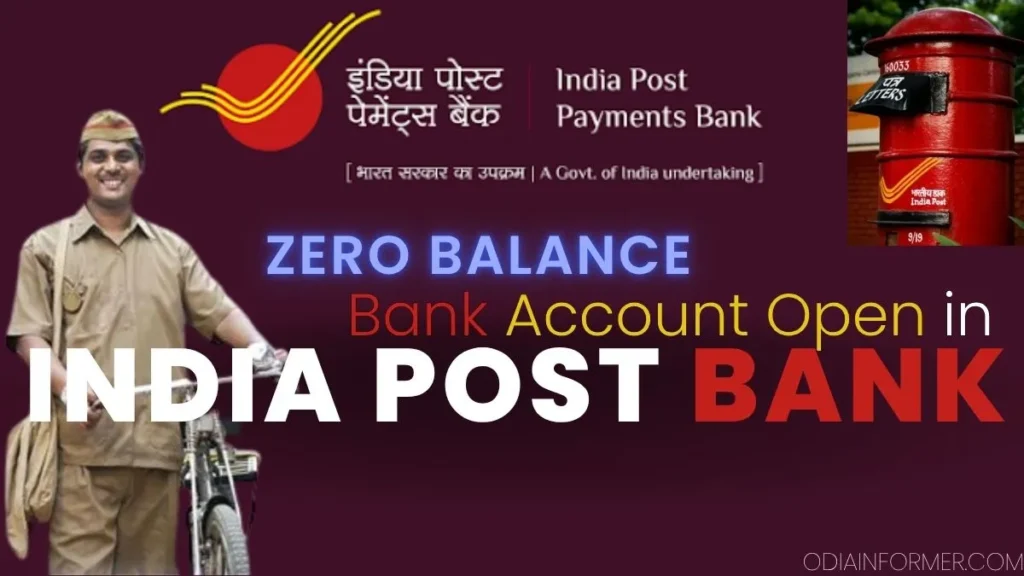
Complete Step-by-Step Guide to India Post Payments Bank Zero Balance Account
India Post Payments Bank Introduction
Opening a bank account no longer means standing in long queues at a branch. With the IPPB online account opening process, you can open a zero balance savings account with India Post Payments Bank (IPPB) directly from your smartphone in under five minutes. In this guide, we’ll walk you through the entire IPPB app account opening tutorial, step by step — from downloading the app to activating your virtual RuPay debit card.
Whether you’re searching for “how to open IPPB account online,” “IPPB savings account opening process,” or “India Post Payments Bank instant account opening,” this article covers it all.
What Is IPPB (India Post Payments Bank)?
IPPB is a government-backed payments bank that lets you open a digital savings account using just your Aadhaar card and PAN card, without visiting a post office. It’s ideal for anyone looking for a zero balance bank account with instant activation.
Step 1: Download the IPPB App from Play Store
To begin the IPPB account opening online process:
- Open the Google Play Store.
- Search for “IPPB” (India Post Payments Bank).
- Download and install the official IPPB mobile banking app.
- Open the app for the first time and grant the required permissions — location, call, and SMS notification access.
Step 2: Choose “New to IPPB” – Open Savings Account Instantly
On the home screen, you’ll see two options:
- Login (for existing account holders)
- New to IPPB → Open Your Savings Account Instantly
Since you don’t have an account yet, tap on “Open Your Savings Account Instantly” to start the IPPB instant savings account registration.
Important Eligibility Requirements
- The SIM card used for verification must be active in the same phone.
- Your mobile number must be linked to your Aadhaar card.
- If your Aadhaar isn’t linked to your mobile number, update it first through the Aadhaar mobile app before proceeding.
Step 3: Aadhaar-Based SMS Verification
- Tap Agree, then click Start SMS Verification.
- Allow the SMS permission when prompted.
- You’ll see the account opening charges: ₹149 + GST, which covers the IPPB Digital Smart Savings Account subscription (including a free virtual debit card).
- Tap I Agree, then confirm your country and tax residency status (select No if you don’t pay tax outside India).
Step 4: Complete Aadhaar KYC Verification
This is the core of the IPPB online KYC process:
- Enter your 12-digit Aadhaar number and re-enter it to confirm.
- Enter your PAN card number (auto-formatted in capital letters).
- Accept the bank’s terms and conditions and Aadhaar usage consent.
- Tap Submit — an OTP will be sent to your Aadhaar-linked mobile number.
- Enter the OTP and submit to complete Aadhaar e-KYC verification.
Another bank account open: How to Open a Zero Balance Account in Punjab National Bank
Step 5: Fill in Personal Information
After KYC, you’ll need to complete five sections:
1. Personal Information
- Mother’s maiden name (security question)
- Spouse’s name (if applicable)
- Current mother’s name
- Father’s name (auto-filled from Aadhaar in most cases)
- Email ID (used for OTP verification via email)
You’ll receive a verification OTP on your email inbox from India Post Payments Bank — enter it to proceed.
2. PAN and Communication Address
- Your Aadhaar-linked permanent address will auto-populate.
- If your current communication address is different, untick “Same as Permanent Address” and enter it manually.
3. Nominee Details
Adding a nominee for your IPPB savings account takes about two minutes and is highly recommended:
- Enter the nominee’s name, date of birth, and relationship.
- Tick “Same as Communication Address” if applicable to auto-fill their address.
4. Additional Information
- Select marital status, occupation type (salaried, self-employed, agriculture, student, housewife, etc.), occupation sub-category, annual income slab, and education level.
- Answer the Politically Exposed Person (PEP) declaration (select No if not applicable).
Step 6: DBT Mapping – A Crucial Step Most People Get Wrong
This is one of the most important (and often confusing) parts of the IPPB account opening form. DBT (Direct Benefit Transfer) mapping determines whether government scheme payments — like PM Kisan Samman Nidhi, pensions, or scholarships — get credited to your new IPPB account.
You’ll see four options:
- Agree to receive DBT in IPPB account – choose this if you want government benefits credited here.
- Switch DBT mapping from another bank to IPPB – if you want to move DBT mapping from an existing account.
- Do not disturb existing DBT mapping – keep your benefits linked to your current bank.
- Not interested in DBT – if you don’t want any government benefit linkage.
Choose the option applicable to you, then tap Save → Continue.

Step 7: Review Summary and Make Payment
- Review the auto-filled Aadhaar and PAN details on the summary page; edit using the pencil icon if needed.
- The total IPPB account opening charge will show as ₹175.82 (₹149 + GST), which includes the free virtual debit card.
- Confirm and proceed to payment.
Step 8: Set Your MPIN and Security Questions
- Create a 4-digit MPIN for future logins (no need to enter username/password every time).
- Set up security questions (e.g., place of birth, first school) — useful for password recovery on the IPPB app.
- Confirm with a final Aadhaar-linked OTP to complete account activation.
🎉 Your IPPB savings account is now open — within 5 minutes! You’ll receive your customer ID, account number, and IFSC code via SMS and email.
Step 9: Fund Your Account (Minimum ₹200)
To activate transactions:
- Tap Add Fund.
- Enter your UPI ID or registered mobile number linked to another bank account.
- Deposit a minimum of ₹200 (up to ₹10,000 initially).
- Once funded, your IPPB account becomes fully active for UPI transfers, IMPS, and bill payments.
Step 10: Activate Your Virtual RuPay Debit Card
- Go to RuPay Debit Card → Request Virtual Debit Card.
- Instantly get a virtual ATM/debit card usable for Google Pay, PhonePe, and online payments.
Limited KYC vs Full KYC: What You Need to Know
Your online Aadhaar-based account opening counts as Limited KYC, which comes with a restriction:
⚠️ You can only transact/deposit up to ₹10,000 per month under Limited KYC.
To remove this limit, you must complete Full KYC (biometric verification) at your nearest post office. Once done, your account functions like any regular savings account with no balance or transaction limits.
Related Post:
- Axis Bank Credit Card Apply Online
- How to Improve CIBIL Score Fast in 2026 | 7 Proven Credit Score Improvement Tips
- How to Pay Electricity Bill in PhonePe App
Frequently Asked Questions (FAQ)
Can I open an IPPB account without visiting a post office?
Yes — the entire IPPB online account opening process can be completed via the mobile app using Aadhaar OTP verification.
What are the IPPB account opening charges?
The Digital Smart Savings Account carries a one-time charge of approximately ₹175.82 (₹149 + GST).
What is the minimum balance required for an IPPB account?
IPPB offers a zero balance savings account, though a minimum initial funding of ₹200 is required to activate transactions.
How do I remove the ₹10,000 monthly limit on my IPPB account?
Visit your nearest post office to complete biometric Full KYC and unlock unlimited transactions.
Is Aadhaar mandatory to open an IPPB account online?
Yes, your Aadhaar number must be linked to your active mobile number for OTP-based e-KYC.
Conclusion
The IPPB online account opening process is one of the fastest ways to get a zero balance digital savings account in India — combining Aadhaar e-KYC, instant activation, UPI support, and a free virtual debit card in under five minutes. Just remember to complete Full KYC at a post office later if you plan to maintain a higher balance or transact beyond ₹10,000 per month.